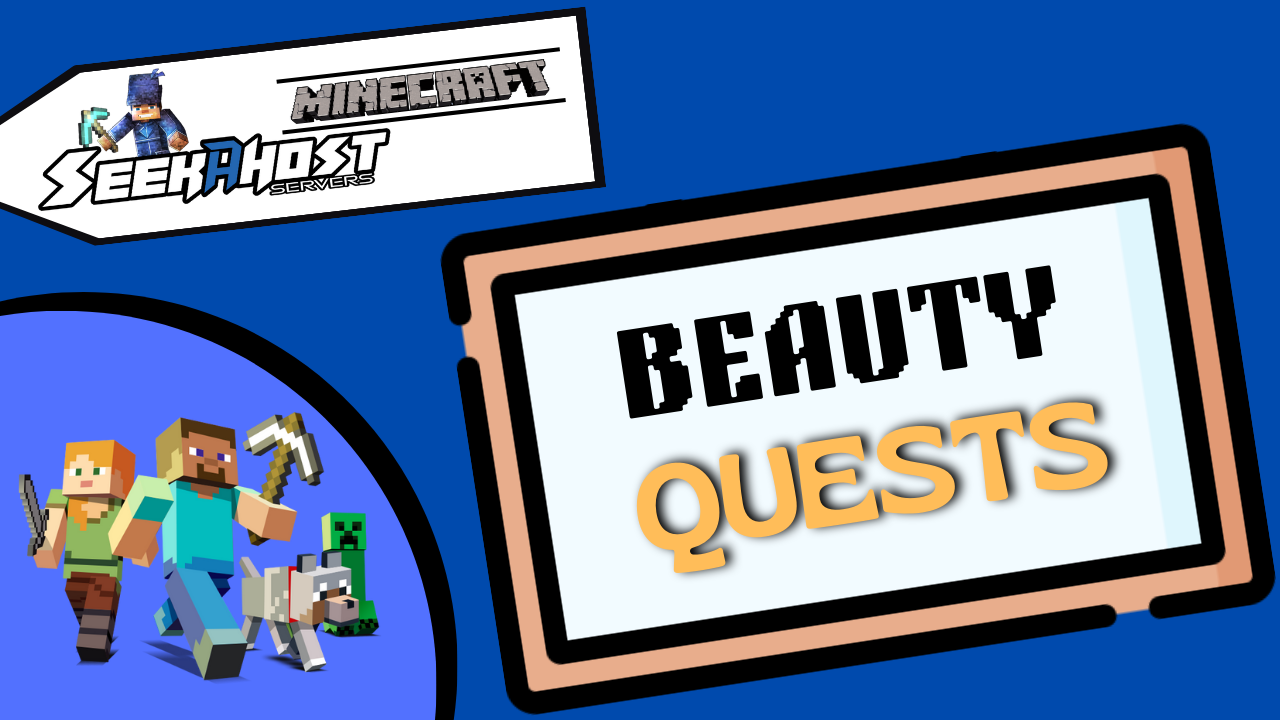
Beauty Quest Plugin Guide | Create Quests on Your Minecraft Server
By James Flarakos | August 15, 2023
In this guide we look at how to create quests with Beauty Quests Minecraft plugin and citizens for realistic and fun missions on your server.

What Is The Beauty Quest Plugin?
The beauty quest plugin, once integrated with citizens will allow server owners to create engaging quests and missions using this plugin. These can be single missions or ones continues with other missions in order.
There for you can create short sharp quests or long drawn out missions with lots of options for your players. Bets thing it works with geyser enabled servers meaning that it works for Bedrock too.
What Do You Need For Beauty Quests To Work?
This plugin is free but does require citizens to work. Citizens is a premium plugin (well worth every penny) but sometimes can be found for free. I am not sure whether this is promotional or simply done by mistake by the dev’s but its something i noticed on the spigot page.
How ever you need the npc’s to be able to hook the mission on too. So visit the spigot page, purchase citizens and lest start building quests! A free alternative you can use is also znpc.
Beauty Quest Guide
- Make sure you have the Citizens and Beauty Quest plugin installed on your server.
- Log into your server and find a place to add your npc, then type “/npc create” and add a name, for example “/npc create bob” will create an npc called bob.

- Once created, lets get him to look a bit more realistic by looking at close by players. Do this by typing “/npc lookclose“.
- Now time to create the quest. Get started by typing “/beautyquests create“. You will then get your creative GUI pop up.

- Start creating your quest by selecting the slime back called “Create New Stage“.

- Now it is time to choose your first part of this mission. Its good to give the player a choice of starting the mission or not so lets start with with the “write in chat option“. Here we ask the player if they want to start and if they type something in chat then they start the mission. Here ill type “yes” as the write in chat message. This is what the player will type if they want to start.

- Now you can go ahead an edit each part of this mission such as starting message, description etc. You can do this by clicking on the options on the first stage of your quest and typing in the message in chat. Just be aware that the starting message will be sent in the players chat section once started, the description will be added to the right side of your screen as a scoreboard after the first message is sent in chat.

- You can also choose to give ending rewards for each stage as well as completing the entire mission.

- To add more stages to your quest, simply click on the slime-ball option in the row beneath to add another stage to the quest. Here you will find all the options for missions you can create. Work your way through to give a fun experience for your players.
- Once you have added all your stages, its time to validate this page and move onto the next section to finish your quest.

Validation Your Quest
Once you have created all the stages for your quest, its time to validate and add important information about the quests before confirming and making the quest go live.
Quest Pool

Here you can attach your quests to other quests pools you have created.
Edit Quest Name
 Create a quest name for your quest. It will bring you to the editor and you can simply type in the name for your quest.
Edit Quests Description
 Add a description that will show in the quest GUI menu. To add these use the the chat bar with out a /. Start by typing add and the the lines. For example to type James’s Mission, I might want it on two lines, so I would first type “add James’s” and then press enter, then again type “add Mission” and press enter. This will then display with James’s on the top line and Missions on the bottom.
Add Quest Item Material
 Select this to change the display item for the quest, you can do so by adding an item or typing in your item name. Remember to type it in properly, for example red dye is red_dye.
Choices You Can Toggle On and OFF
- Dont count quest limit. Recommended as off unless you want it as repeatable with no limit.
- Start-able from GUI. Depended if you want the player to find the npc to start.
- Cancellable by player. Recommended as on.
- Enable scoreboard. Recommended as on.
- Hide when requirements are not met. This will hide the mission if there is a requirement to start it until the requirement is met.
Final Thought
Using this guide you can now create engaging missions/quests on your Minecraft server easily! And if you dont have a server already, take a look at Minecraft server hosting prices to get started on your own world, the way you want it!
Author Profile
- I love to make Minecraft content, and easy quick tutorials for others to use. Contact me on james@seekahost.co for enquiries.
Latest entries
 GamingOctober 13, 2025Boosting Demystified: Solo, Duo, and Power Leveling Explained – How Playhub Helps You Play Smarter
 FortniteAugust 28, 2025Weapon Combos That Dominate in Fortnite
 Minecraft ServersJune 20, 20255 Best Minecraft 1.12.2 Version Servers
 Minecraft ServersJune 20, 20255 Best Minecraft 1.8 Version Servers