Tag: mods

Online Marketing Tips Types Of Hosting Find Expired Domains Expired Domains Guide Invest In Domains .Tech Domain Names

How To Setup A Forge Server With Mods and Install The Mods on Your Pc

modded server installation guide

A complete guide on how to install modded server and add mods to it so you can join and play with your friends.

modded server minecraft

How Can I Set Up A Modded Server?

So first of all lets go through how a modded server works so you first understand. There are two version we support that you can mod and this is Forge and Fabric. For this example we will be using Forge.

Firstly you need to have the mods you want installed on your pc (client side) as you will need to have matching mods and forge  version as your server to join. Even if one mod if out of place you will struggle to join the server untill you have the exact mods.

After that you will also need to install the same forge version on your server and add the same mods as you have on your pc. Once this has been done you will see a tick appear on your server meaning that all the mods you have are compatible and your able to join.

modded server minecraft

So for this guide will be split in two. The first section will show you how to get your pc ready with the required mods and then the second part will show you how to upload the same mods on your server so you can join it and play your modded Minecraft server.

Part 1. Installing The Mods Client Side

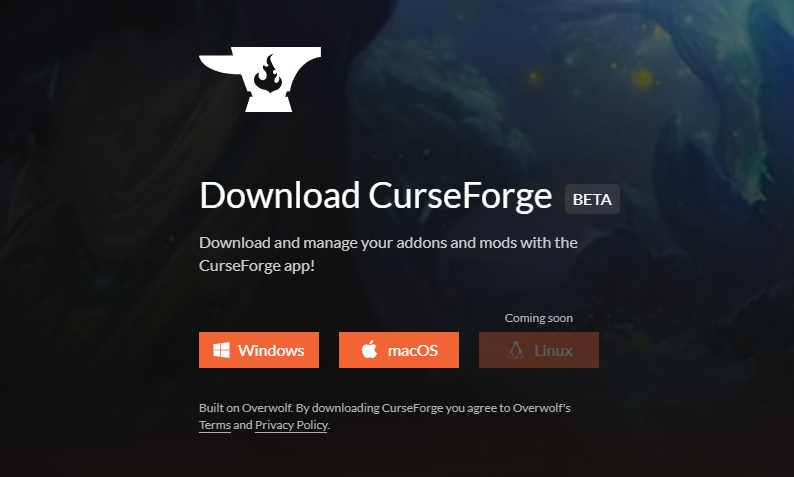
Ill use the easiest method as manually installing the forge version can sometimes be tricky depending on the persons pc. So we will be using the tried and tested method of the CurseForge launcher.

  1. Install CurseForge launcher to your pc, download link here.
    download curseforge launcher
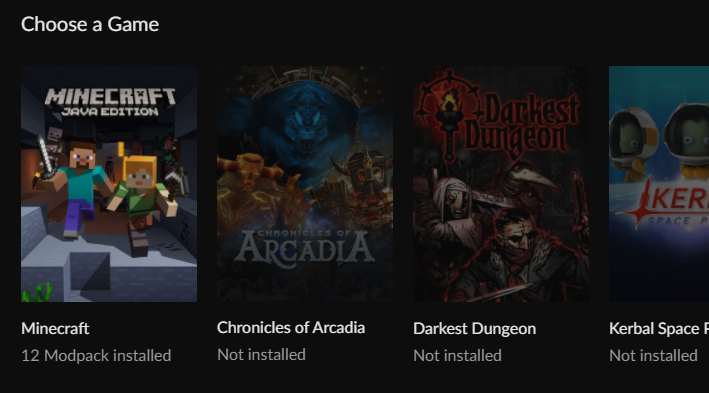
  2. Next up log in and choose Minecraft as the game of choice.
    mod minecraft
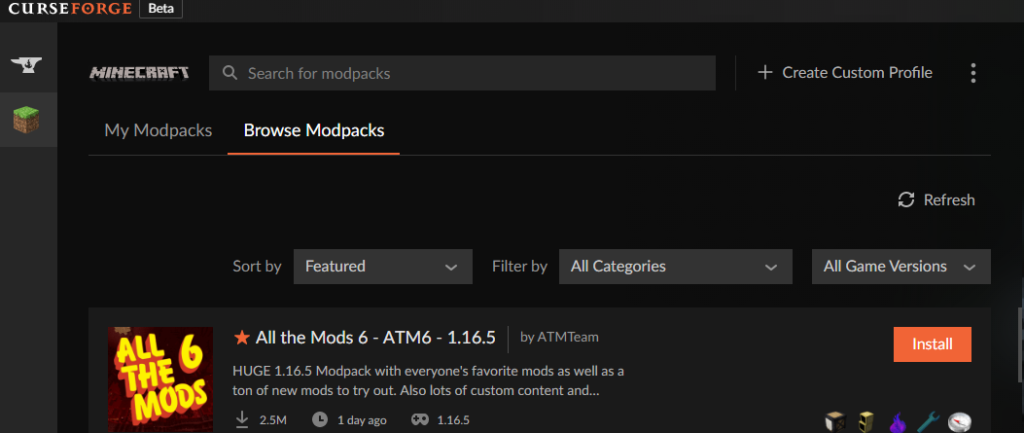
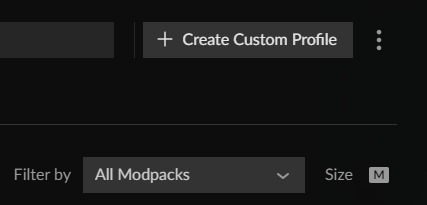
  3. Now choose the Create Custom Profile Option.
    create custom modpack
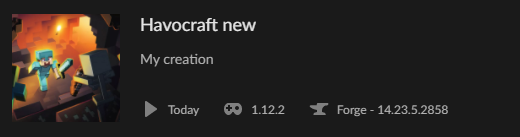
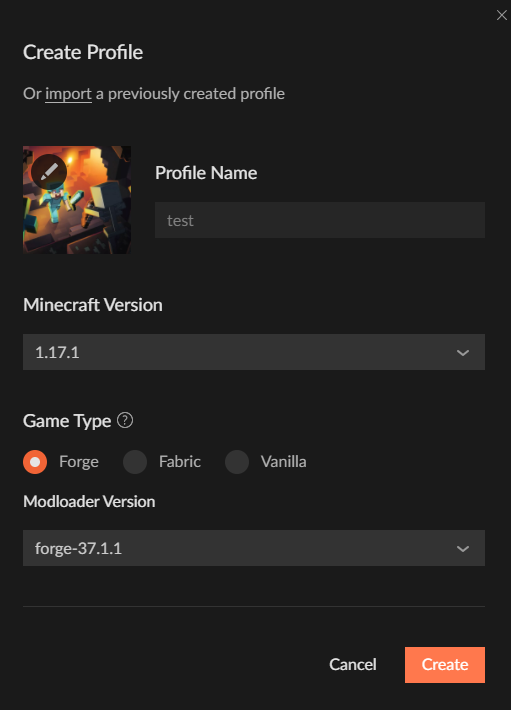
  4. Now to finish creating your profile, choose a name for the modpack, choose a version (we choose 1.17.1 for this one) and select whether you want forge, fabric or vanilla. You can also more specifically choose a version you want within 1.17.1 as there are many micro version.
    create custom profile on curseforge
  5. Finally you can go ahead and add mods to your modpack using the Add More Content button on the top right.
    add mods to modpack
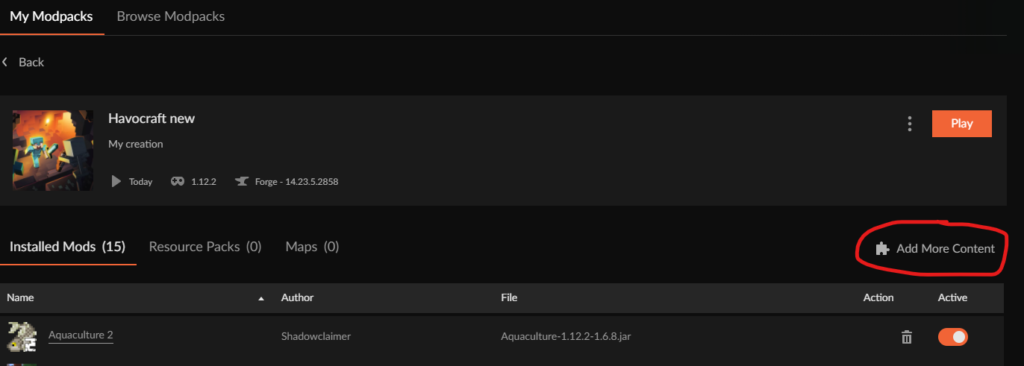
  6. Once you added all the mod you want you can go back to your Modpacks page and simple press play. You can now play your modpack in a single player setting.
    If your modpack is large I suggest adding more ram to you modpack using this guide here to increase RAM.

Part 2. Adding The Mods To Your Server

Now we have the mods we want to use on our server and we can play them on single player and it all works with no crashes. Lets try uploading them to our server also so we can join on and play, and anyone else can too using thr same mods.

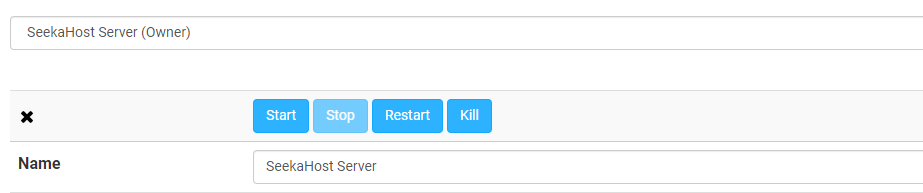
  1. Firstly lets start by stopping your server before making any changes.
    stop server to add mods
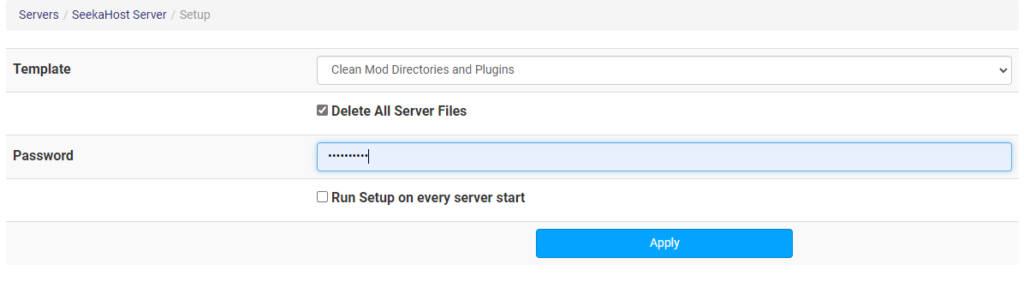
  2. Next lets delete old server files that are un needed to start with a fresh forge version. Do this by going to Files > Setup > Choosing Clean Mod Directories and Plugins from the drop down menu and then checking the Delete all server files. Then add in your password to confirm and press apply.
    delete old server files
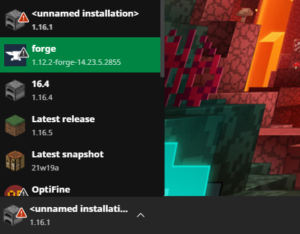
  3. Now go back to your main multicraft page and select the same version of forge (server jar) you have chosen on your modpack you created. In this case its 1.17.1.
    change server jar on multicraft
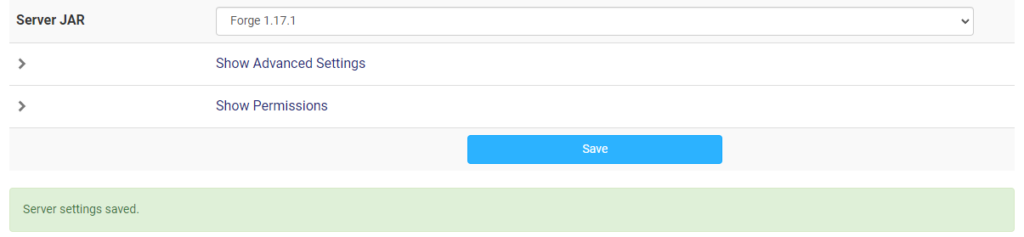
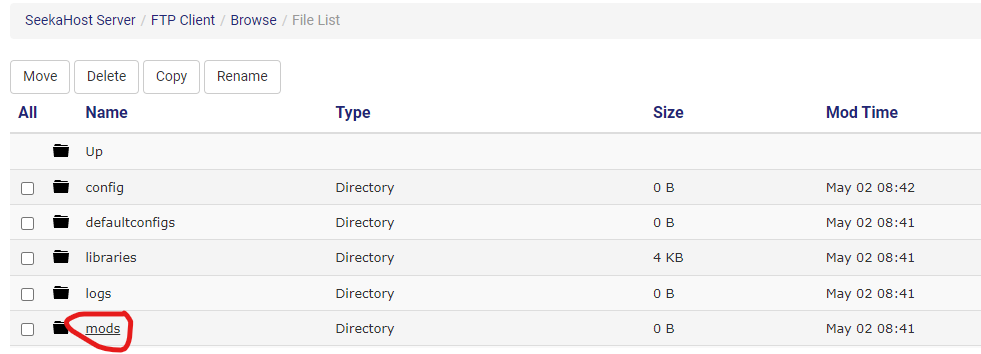
  4. Once saved. Start your server back up it will start on the forge version you selected. It will create any new files or folders needed such as the mods folder.
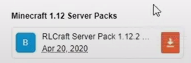
  5. Now you can upload your mods to the mod folder once the server is started, just make sure to stop your server again before uploading them. You can do this a few ways.
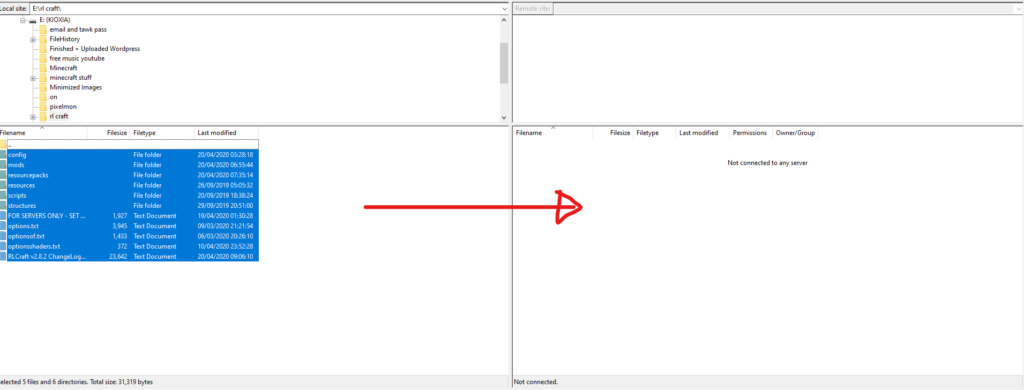
    Personally I recommend using FileZilla to upload mods tot he folder. (Use this tutorial to use FileZilla) or you can use your FTP file access on multicraft and upload the mods to the mod folder.
    add mods to serverJust make sure that the mods you upload to your server are exactly the same (including version) as the ones you have on you modpack profile. They need to match between your server and your pc to allow you on the server.

Now that you have uploaded the correct mods, start your server up again and you can now join by starting your Minecraft game from the CurseForge launcher with the selected profile.

For more help on using your Multicraft Dashboard check out our guide here on how to use the dashboard.

How to Install RL Craft on Your PC or Server

install rlcraft

How to Install RL Craft on Your PC or Server easily. From installing the Forge Jar to installing the mods onto a server to play with your friends.


What is The RL Craft Mod?

Install RL Craft

RL Craft stands for real life craft, in this mod pack they have tried to make it as realistic as possible. So no more punching trees for wood as that wont work! No more making tools with out experience, as you’ll be starting with the bare basic knowledge of flint tools. From hundreds of custom mobs including dragons, goats, underwater monster, flying monsters and much much more. We expect your first try might lead to a few un wanted deaths. How ever the difficulty only pushes you to want to succeed more!

It follows a different world generation that normal and you will expect to see a huge variety buildings, landscapes and biomes.

Simple Installation Checklist

  1. Download the CurseForge Launcher and install RL Craft
  2. Download the Server Pack and upload it to your server files
  3. Configure Settings For Your Server

Video Tutorial at the Bottom of the Article

Installation Guide to Install RL Craft

1. Install RL Craft to Your PC

To get this installed I will be using the new CurseForge launcher. The reason for this is because they have made the whole process of adding forge 1.12.2 and relevant files super simple. with one click you can get playing.

Use the link above to download the Launcher from the CurseForge site and then follow the steps for installation. Once installed sign in using your Mojang account.

Once loaded up head to Minecraft and Browse Mods packs.

install rl craft


Find RL Craft and tap the orange install button. A short time later you can now click play and your set to play your single player worlds or join on to other servers.

2. Install RL Craft to Your Server

Before downloading your files just make sure your server is running on the correct version you need of Minecraft. Select Forge 1.12.2 Jar from the Server jar selection on your Multicraft control panel and start up your server to load up the relevant files and folders. We recommend using the Setup option to Clean mods and directories and also select the Delete all server files before you start your server with the new Forge 1.12.2 jar to make sure its starting on a fresh server. Once you done just stop the server again.

We will be using SeekaHost Minecraft Server for this example. Get started by downloading the server pack from the CurseForge site. On the bottom right of the page as you scroll down you will notice the option to download the RL Craft server pack for 1.12.2. You can go ahead and download this, you can also use the link below.

Java mods

Next up we need to extract the files using 7-Zip or whatever way you use to extract you files on your PC. I recommend creating an empty folder and placing the zipped file in here, then extract it to have all your files in one easy place.

You can now delete the zipped folder for RL Craft. For the next step you will need FileZila due to the file being quite large and might be unable to be uploaded through the FTP file access due to file size limits.

Connect you server up through FileZilla and then move your files you just extracted to your server on the right hand side (on to the server) when it asks you if you want to overwrite the files choose yes as we want the new mod folders and configs to replace the empty folders created by loading up the Forge 1.12.2 jar.

Install RL Craft

3. Important Last Step

In the READ ME text document in the server pack you will find the settings you need to add to your server for the generation to work properly. This will also help for lag on your server as RL Craft generation works a bit differently to normal world generation.

Go to Files then Config Files and then Server Settings. Now just use the picture below to change the settings around, there are only 4 to change over.

java mods

Now you can start your server up, join using the domain or IP and Port and start your adventure on possibly one of the hardest but most exiting versions of Minecraft.

For some more information on mods on servers or join in on the servers we host with different mod packs you can also check out the Jdog site. Perhaps looking for a different server pack such as Pixelmon? Check out our easy tutorial to get playing Minecraft with Pokémon

RL Craft Installation Tutorial

How to Install Pixelmon on Your PC or Server

install pixelmon

How to Install Pixelmon on Your PC or Server easily. From installing the Forge Jar to installing the mods onto a server to play with your friends.

Install Pixelmon

What is The Pixelmon Mod?

It is a large mod pack consisting of lots of different mods to make a different game play. As the name implies, this will add Pokémon style features to your PC or server.

You able to battle others with your Pokémon, find and battle wild Pokémon in the wild, use the poke shops, Poke health centres and much more.

You also get Biomes o Plenty world generation, so the whole experience is fun and filled with unexpected turns.

Simple Installation Checklist

  1. Download and Run Forge 1.12.2
  2. Install the mods to your PC mods Folder
  3. Install the mods to your Server mods Folder
  4. Configure Your Generation Settings


Installation Guide

1. Install Forge 1.12.2 for your Launcher

First things first we need to make sure your able to connect to the correct version of Minecraft to be able to use the mods. To get started you will need to download the version of forge that we require to play Pixelmon.

We need Forge 1.12.2 version and the download can be found here. Once downloaded you will need to run it by right clicking the Forge 1.12.2 file and opening with JAVA.

How to Install Pixelmon on Your PC or Server

If this option is not coming up for you, you will need to download Java, you can do so by following the link here. Once run, follow the last step and open the Forge file with Java.

On the next screen selected download for client and then follow instructions untill it has downloaded.

To use this version of forge just log into your Minecraft Launcher and select the version like the picture below.


Install Pixelmon


2. Install The Pixelmon Mods On Your PC

Next up its time to add the mods to your PC so you can play them in single player or join other servers running the same mod.

You can find all the downloads, mods and side mods on the Pixelmon Generations Website. Once on the site you can select downloads and then download the latest release, making sure thats its for 1.12.2.

For Pixelmon side mods just scroll down a bit further on the page and you will find a list of compatible side mods. If you want to use them simply download them also with the main Pixelmon mod.

Now that the Pixelmon mods and side mods are downloaded its time to add them to your PC to get playing. Before we get started just use your launcher to start up a forge 1.12.2 game so that it loads up all the relevant files we need.

To do this use your search bar on your PC and type %appdata% and proceed to open the folder. In this folder you will see another one called .minecraft, open this folder and you will be looking fort another folder called mods.

Once the mods folder is located all you need to do is copy and paste the mods you have just downloaded into the mods folder. Now when you next open up Minecraft on forge 1.12.2 from your Minecraft launcher you will be able to play with all the mods you just downloaded.

3. Install The Pixelmon Mods on Your Server

It is a similar process to get the mods onto your server. to get started you will need to be running a forge 1.12.2 server to be able to support the mods.

To start I suggest deleting all older files in your server to avoid mix ups in mix matched files and folders in the future. We will be using SeekaHost Minecraft Hosting for this example.

So once the old files are deleted, stop the server and change the Jar file on the Multicraft control page. Start the server back up to load up all relevant folders that we will need to insert the mods into.

Like before we will need to download the mods form the Pixelmon Website. Just be aware that any side mods you add to your server will need to be used on the client side too. So any friends that want to connect will not only need the main Pixelmon Generations mod but also the side mods you installed. So download the latest release on the top of the page and/or any side mods.

Stop your server once more and you will find you have a mods folder now created. Much like installing Pixelmon on your pc we will need to upload the mod jar files to our new mod folder.

To do this use your FTP File Access on your SeekaHost Multicraft Control panel, or by using FileZilla. This will be the main Pixelmon Generations mod, and any side mods that you might have downloaded as well.

4. Important Last Step

One step that is overlooked in excitement to get playing is the world generation. Once you installed the Pixelmon Mod you will have noticed its also installed Biomes o Plenty to your mods.

To make sure this works you will need to follow a few more steps before your done. Head to Files and then Config Files and go to Server settings. Navigate down to Level type and change this to CUSTOM.

Save that and then go to your FTP file access, log in and find server.properties. Select edit and then find level type again. Change this to BIOMSOP.

Last step now is to delete any old worlds that may have been generated and start your server.

Pixelmon Installation Guide