5 Best Minecraft Bedrock Servers of 2025
Bedrock servers offer Minecraft players on consoles, mobile devices, and Windows 10 the chance to join rich online communities, enjoy custom mini-games, and explore incredible survival or creative modes. Whether you’re into PvP, parkour, or just chilling with friends, these servers are optimized for the Bedrock Edition and deliver high-quality, lag-free experiences. If you’re ready to dive into cross-platform fun, here are the five best Minecraft Bedrock servers in 2025, sourced from https://www.minecraftiplist.com/server-tags/Bedrock.
1. Purple Prison
 IP Address: purpleprison.net:19132
Version: Bedrock & Java
Website: Purple Prison Official Website
Purple Prison, long known for its iconic Java prison experience, has extended its reach to Bedrock Edition players. With custom plugins, PvP zones, and a bustling player economy, the server delivers fast-paced fun and constant updates. Bedrock users can now enjoy everything from events to battles with a simple tap to join—no mods needed.
2. The Hive
 IP Address: hivebedrock.network
Version: Bedrock
Website: The Hive Official Website
The Hive remains a fan-favorite among Bedrock players, offering a sleek, polished experience with mini-games like Hide and Seek, Treasure Wars, and DeathRun. With a large community and regular content drops, it’s perfect for casual and competitive players alike. The UI is clean, and matchmaking is lightning-fast—ideal for pick-up-and-play sessions.
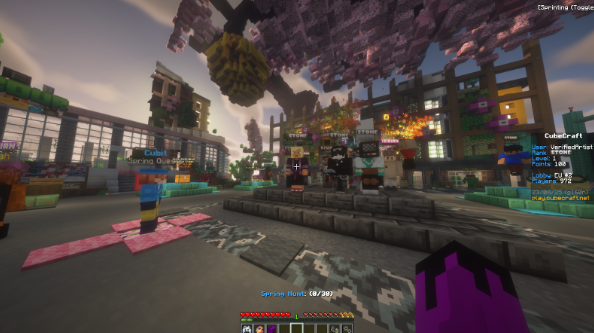
3. CubeCraft
 IP Address: play.cubecraft.net:19132
Version: Bedrock & Java
Website: CubeCraft Official Website
CubeCraft has mastered the art of fun mini-games and challenging PvP maps. Available directly from the Bedrock server list, CubeCraft supports game modes like EggWars, SkyWars, and Lucky Blocks. The vibrant visuals and seamless performance make it one of the top servers for mobile and console players.
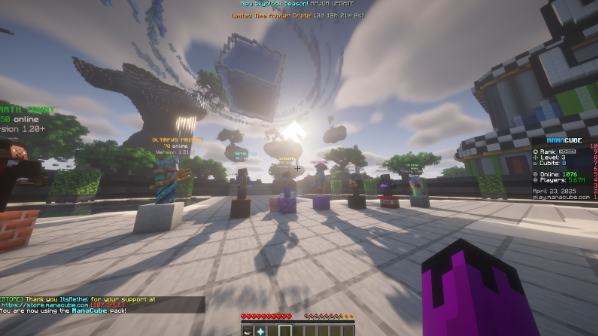
4. ManaCube
 IP Address: bedrock.manacube.com:19132
Version: Bedrock & Java
Website: ManaCube Official Website
ManaCube brings its rich RPG and adventure worlds to Bedrock Edition, allowing for full crossplay with Java players. From creative plots to parkour maps and seasonal events, this server offers a little bit of everything. The staff team is active, and updates ensure content stays fresh for all device types.
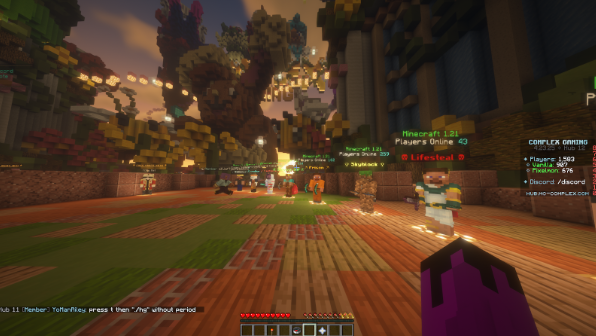
5. Complex Gaming
 IP Address: mc-complex.com:19132
Version: Bedrock & Java
Website: Complex Gaming Official Website
Complex Gaming is one of the largest Minecraft networks and supports Bedrock connections across its range of game modes. Whether you’re into Pixelmon, Survival, or Skyblock, this server makes it easy for Bedrock players to jump in and play with high performance and minimal setup. It’s a great hub for players seeking long-term progression and community-driven gameplay.
These servers were sourced from Minecraft Bedrock servers, where you can discover even more exciting servers tailored for mobile, console, and Windows 10 players. From competitive modes to creative builds, these Bedrock servers offer something for everyone—no matter where you’re playing from.
So boot up your device, pick your favorite, and jump into the action. See you online!

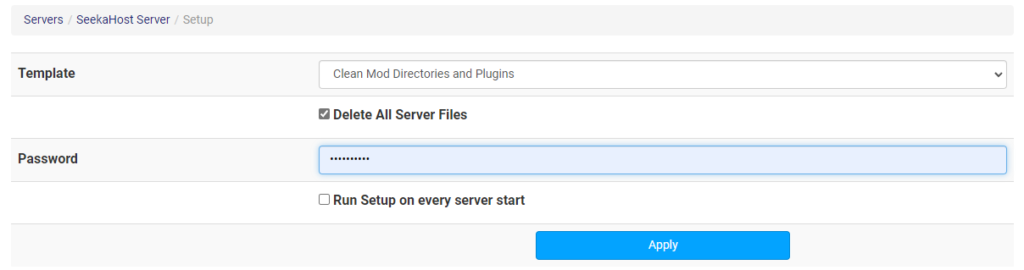
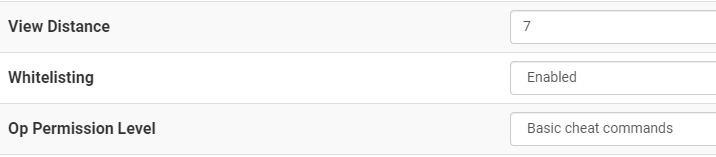
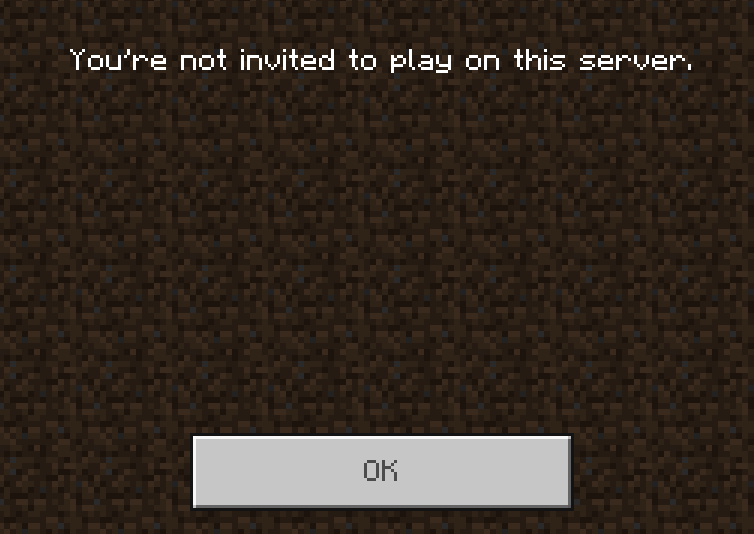
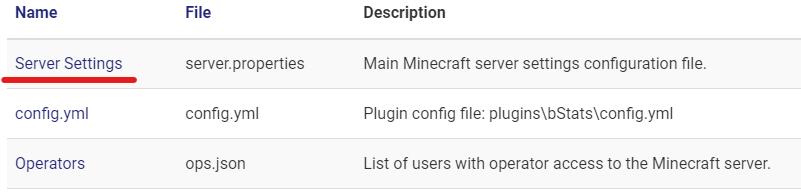
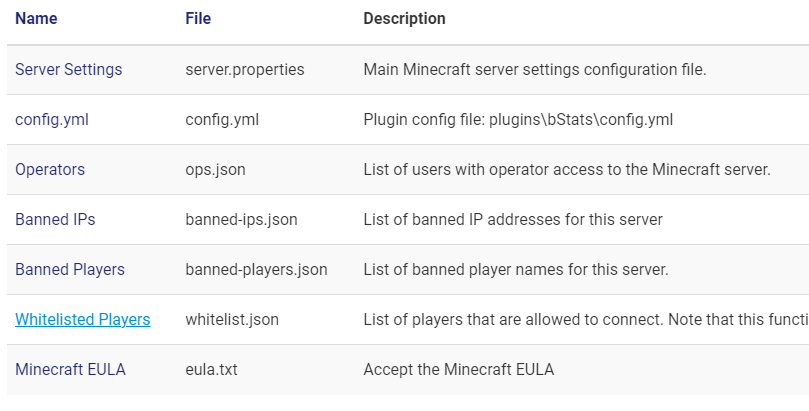
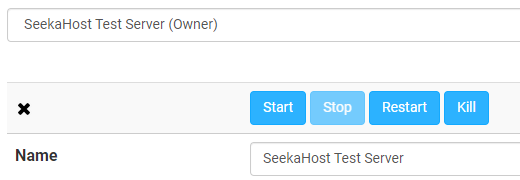
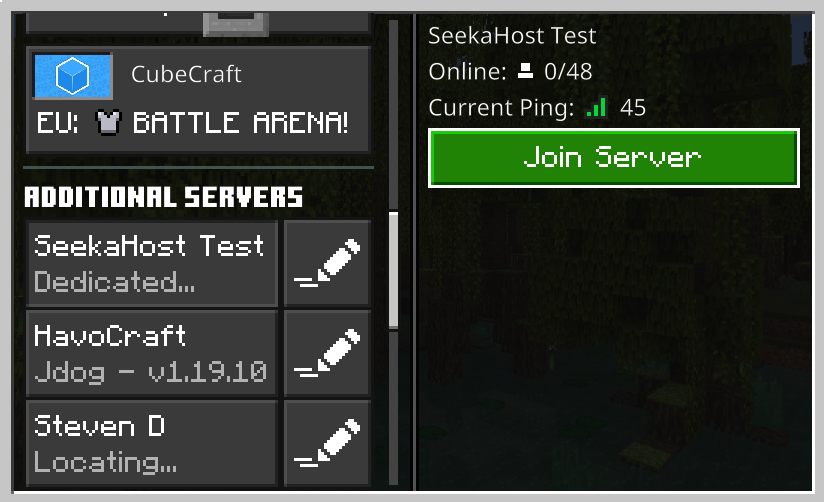
 Find out how to enable cheats on your dedicated Bedrock server with SeekaHost using multicraft.


 Final Thought